PCB Etching Adventures
28 Sep 2017What is this?
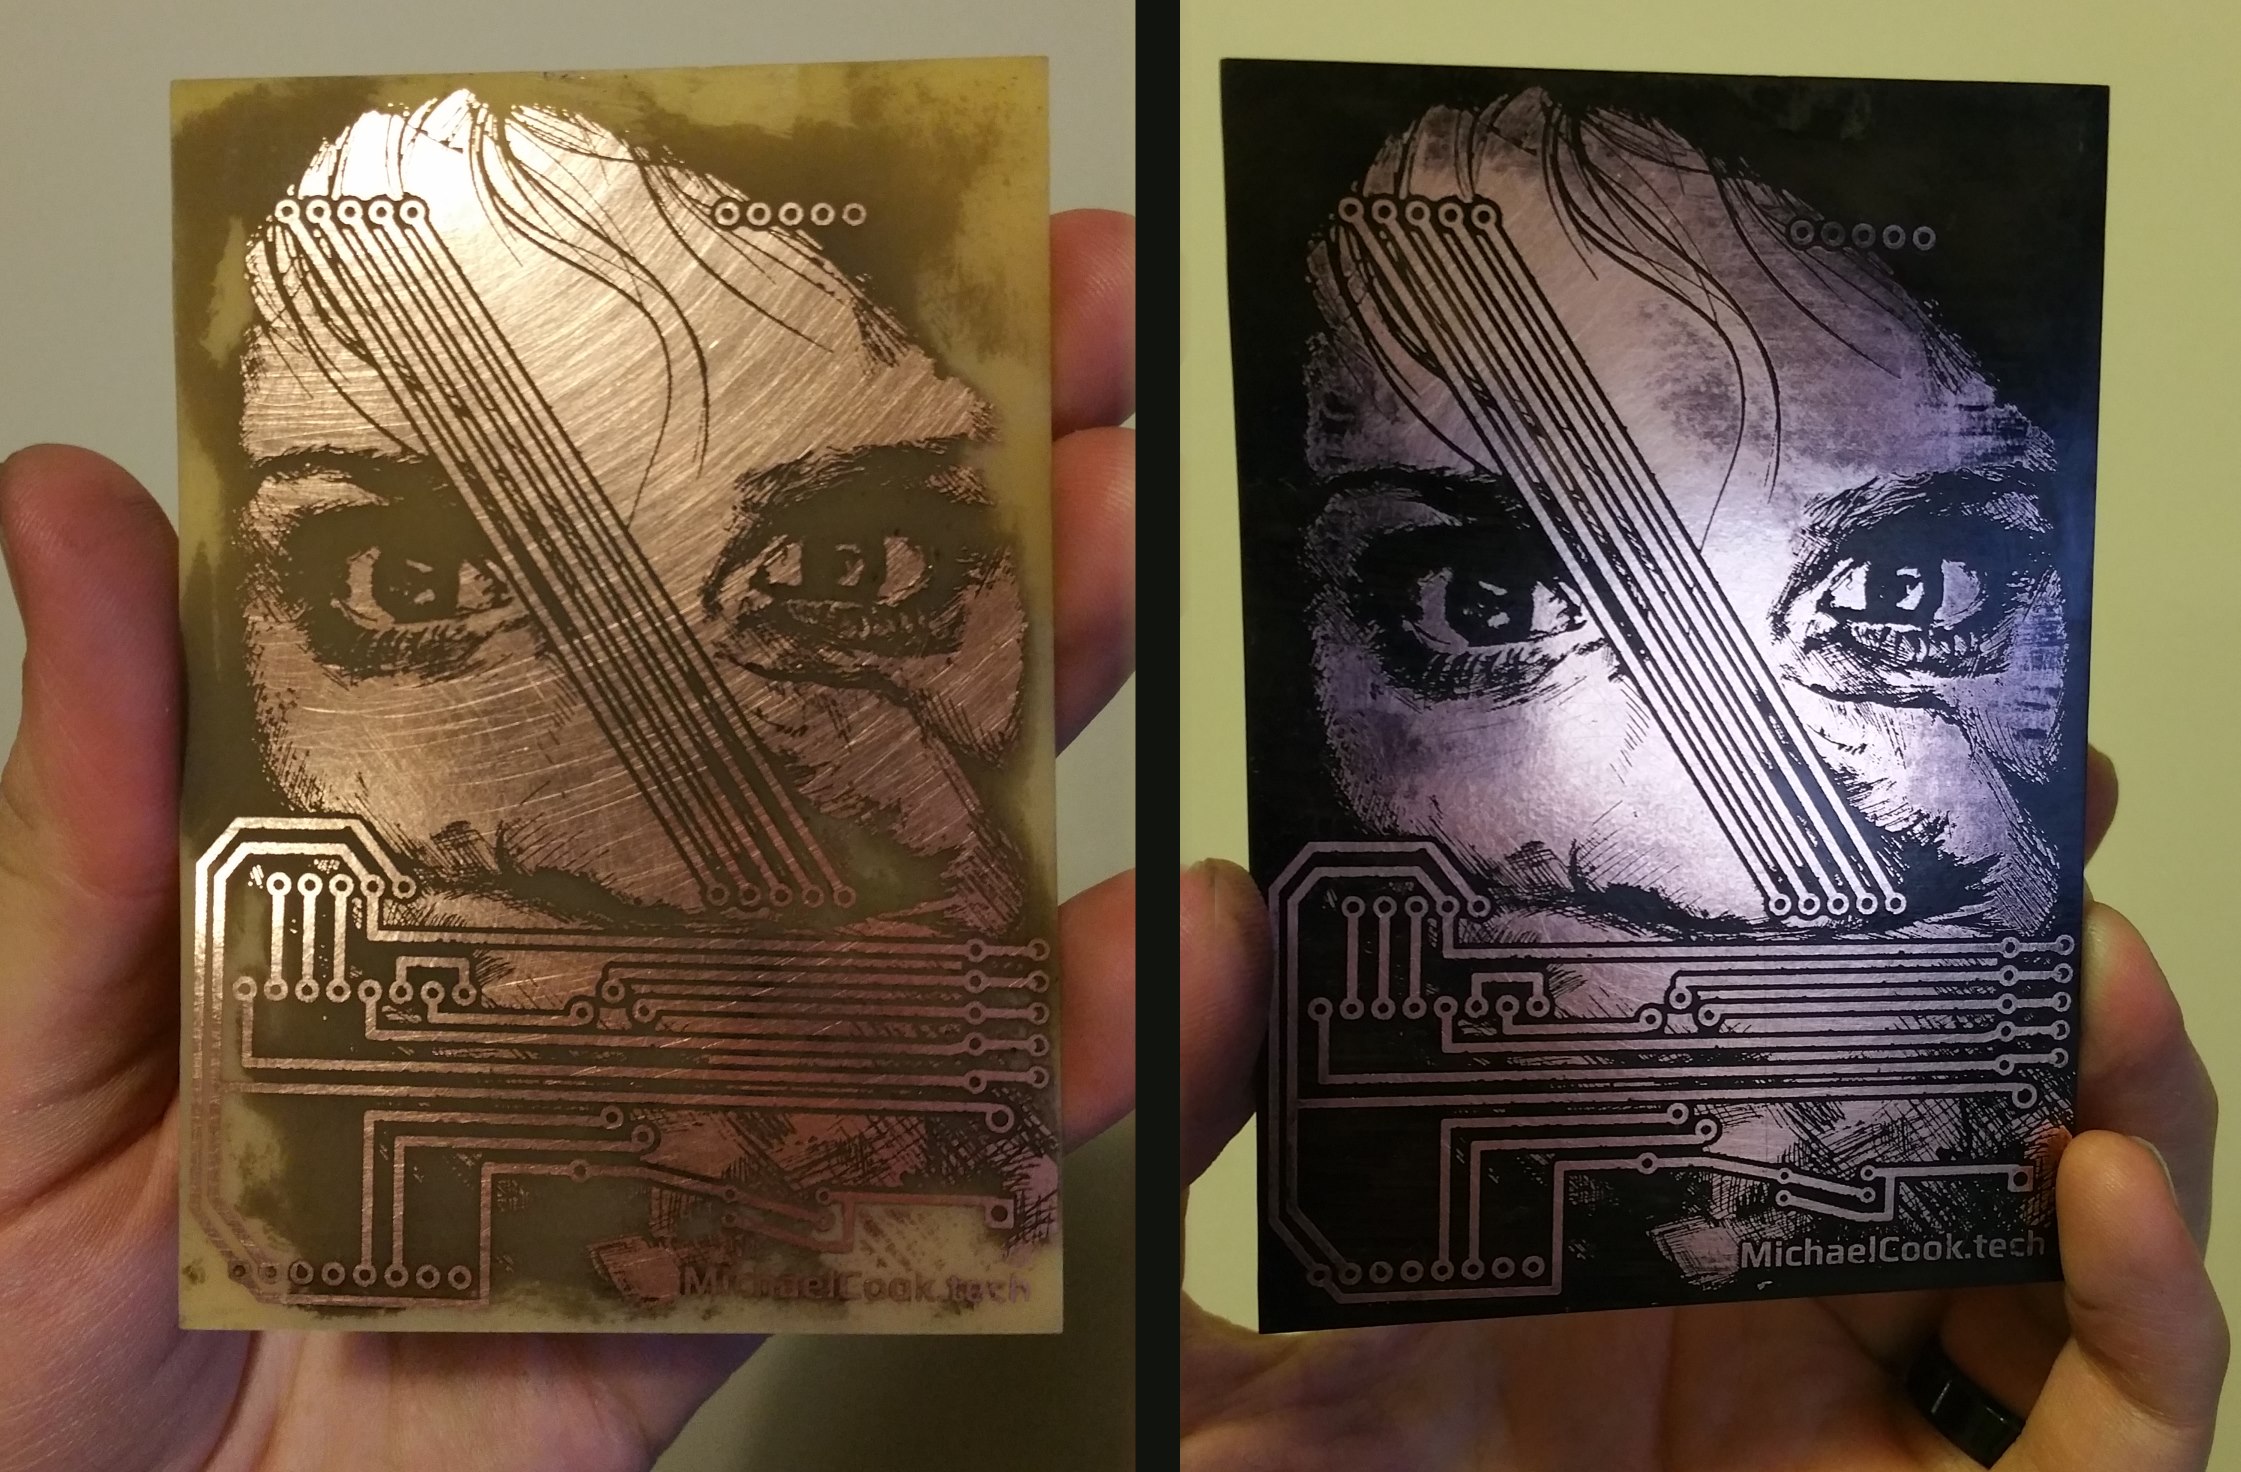
Artistic PCB etching is an arcane, dark art but isn’t actually that difficult! Have a look at how I go about it.
If you’re going to make a DIY PCB you might as well make it look awesome, or what’s the point?
People often send designs to a cheap chinese manufacturer these days, which is great but takes ages and isn’t nearly as fun.
There are infinite guides and opinions on how to etch PCBs with random DIY techniques and they’re almost all complete garbage. Not an exaggeration; I’ve tried them all. Here are the key things to use, apologies in advance for the swearing, it’s been a.. difficult.. path:
Key Ingredients
These are the most successful items I’ve used, with the toner transfer method, by a loooong way:
- Laser printer - Fuck inkjet! Even with special paper, they’re not as good as a cheap £30 monochrome laser printer
- Glossy photo paper (180gsm+) - Fuck magazines and transparencies! (No matter what people tell you)
- Laminator - Fuck irons! Get a cheap £20 laminator (e.g. AmazonBasics). Infinitely more consistent than ironing for heat and pressure
- FR2 (SRBP in UK) copper board, NOT FR4 - If you want to dye it easily, as it’s essentially compressed card
- PCB Scrub Block
- Acetone - To remove the toner after etching (will stain the board but that’s okay if we’re dying, otherwise carefully sand it off)
- Isopropyl alcohol (rubbing alcohol) and elbow grease - To remove the ink from the copper tracks after dying (not acetone, as that dissolves it!)
Method
Lots of steps, but it isn’t too difficult. This is the process, bearing in mind the Key Ingredients listed above!
- Print your design on the shiny side of glossy paper
- Polish your board hard then soft (that’s what she said) to a mirrored finish
- Tape the design on and bosh it through your laminator a dozen times
- Wait a few minutes then slowly peel off
- Correct any mistakes with a fine permanent marker pen
- Etch it with ferric chloride or however you like, swishing it around (you’ll know when it’s ready)
- Clean the remaining toner with acetone (or fine sand paper to avoid staining if not dyeing)
- (Optionally) Use a Sharpie marker pen and colour the entire board
- Wait a few minutes, then rub the ink off the copper tracks with isopropyl alcohol, a cotton pad (or similar) and elbow grease
- Repeat the Sharpie process again if necessary
- Polish with the scrub block
- Boom, done. Gorgeousness!
- PCB lacquer spray is a good shout after soldering to keep the shine
Safety
Everything is poisonous, flammable, radioactive, etc. So wear gloves and stay ventilated.